
Audio Tracks
Media Mode Only: This chapter applies to Media Mode. In Pro Tools Integrated Mode, audio playback is managed within Pro Tools.
Audio tracks contain the audio files in a timeline for playback.
To create a new Audio Track, go to Track → Add Audio Track.
The Add Audio Track(s) window will appear.
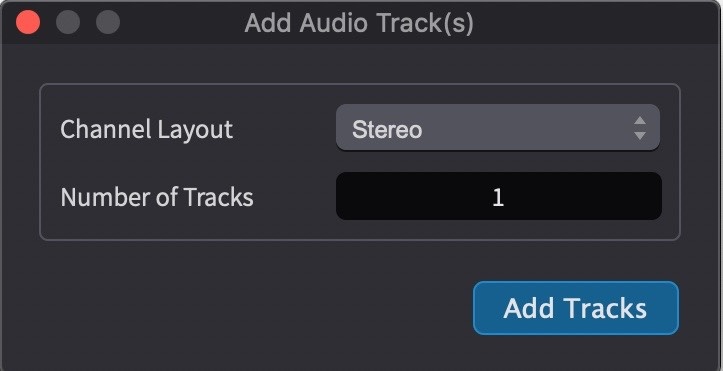
Choose the channel layout between mono, stereo, LCR, LCRS, 5.0, 5.1, 7.0, & 7.1.
Choose the number of tracks to add. Click the Add Tracks Button.
The new audio track(s) will appear in the timeline called <unnamed track>.

There is no physical limit to the number of audio tracks that can be added - beyond what the CPU can handle.
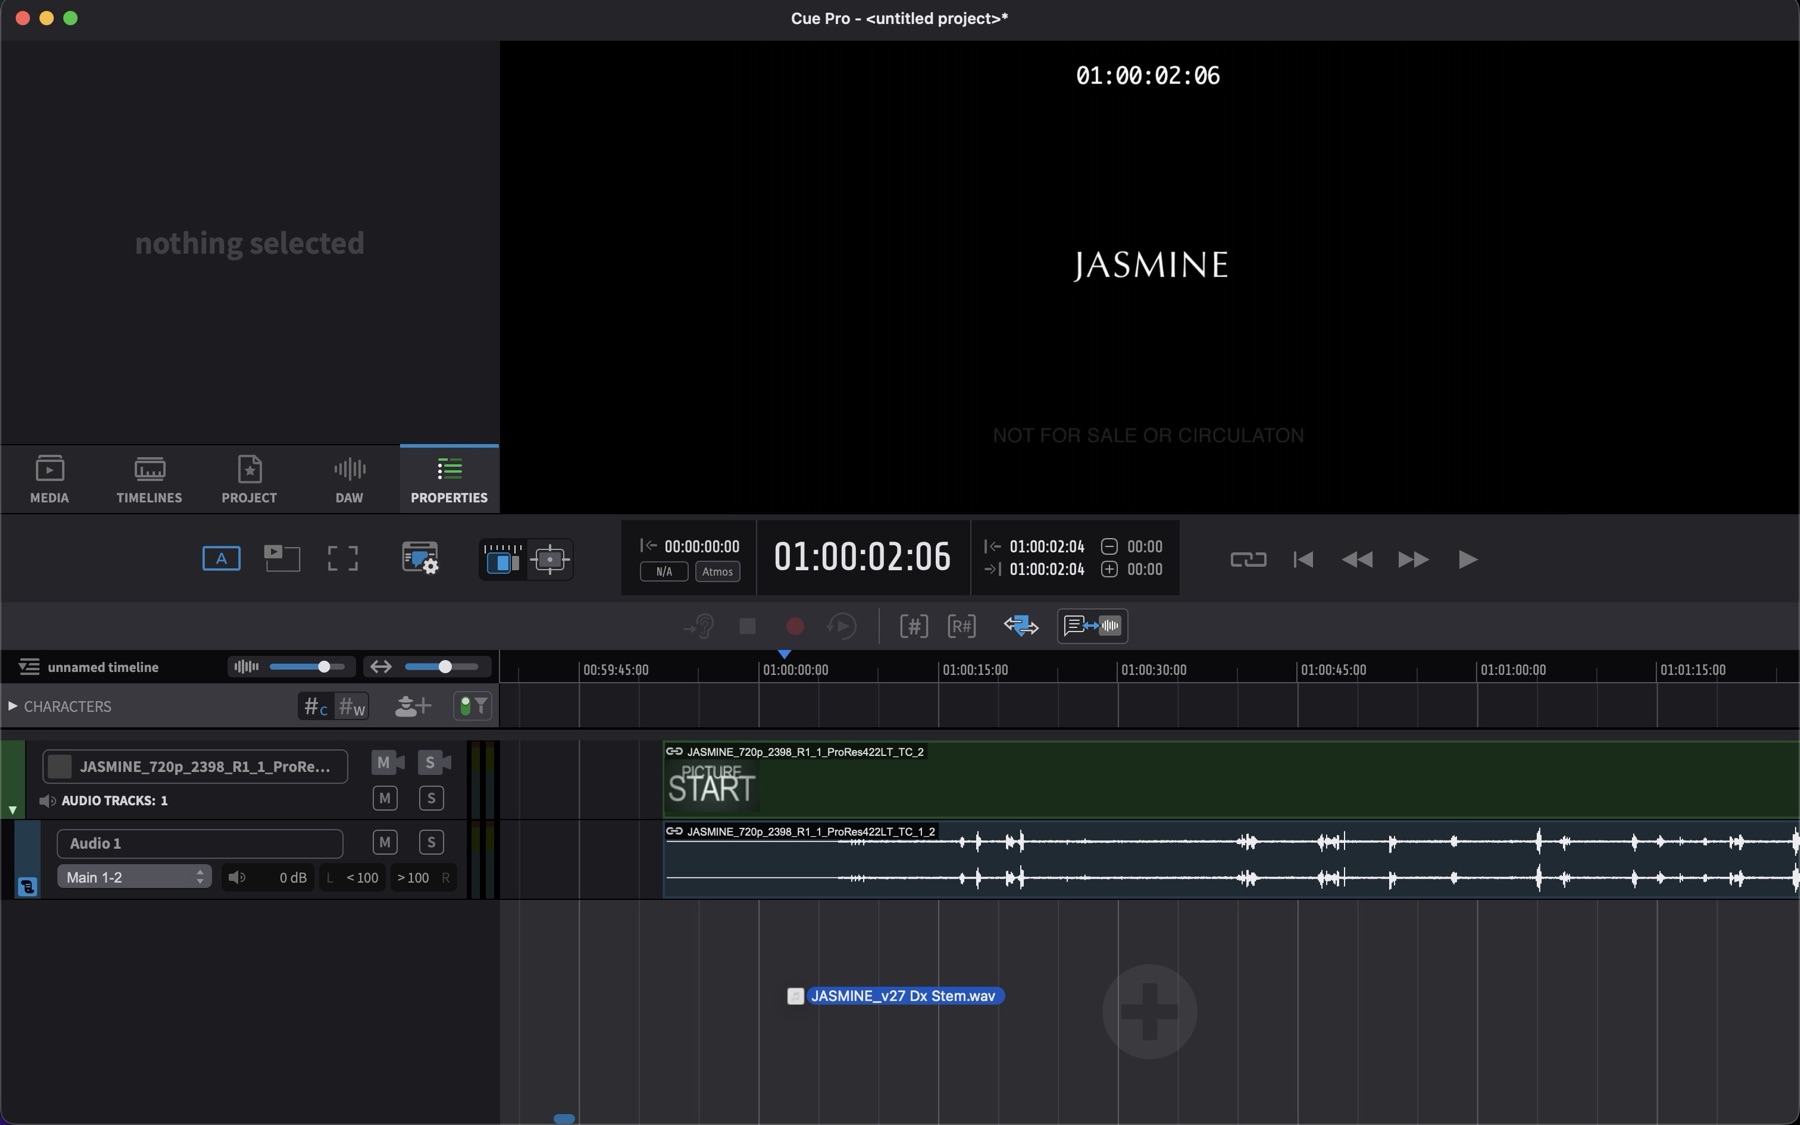
A new audio track will also automatically be created when a new audio file such as a .wav is dragged below the last track in the timeline, such that a plus symbol appears. One advantage of creating new tracks this way is that the track name is automatically derived from the file name.
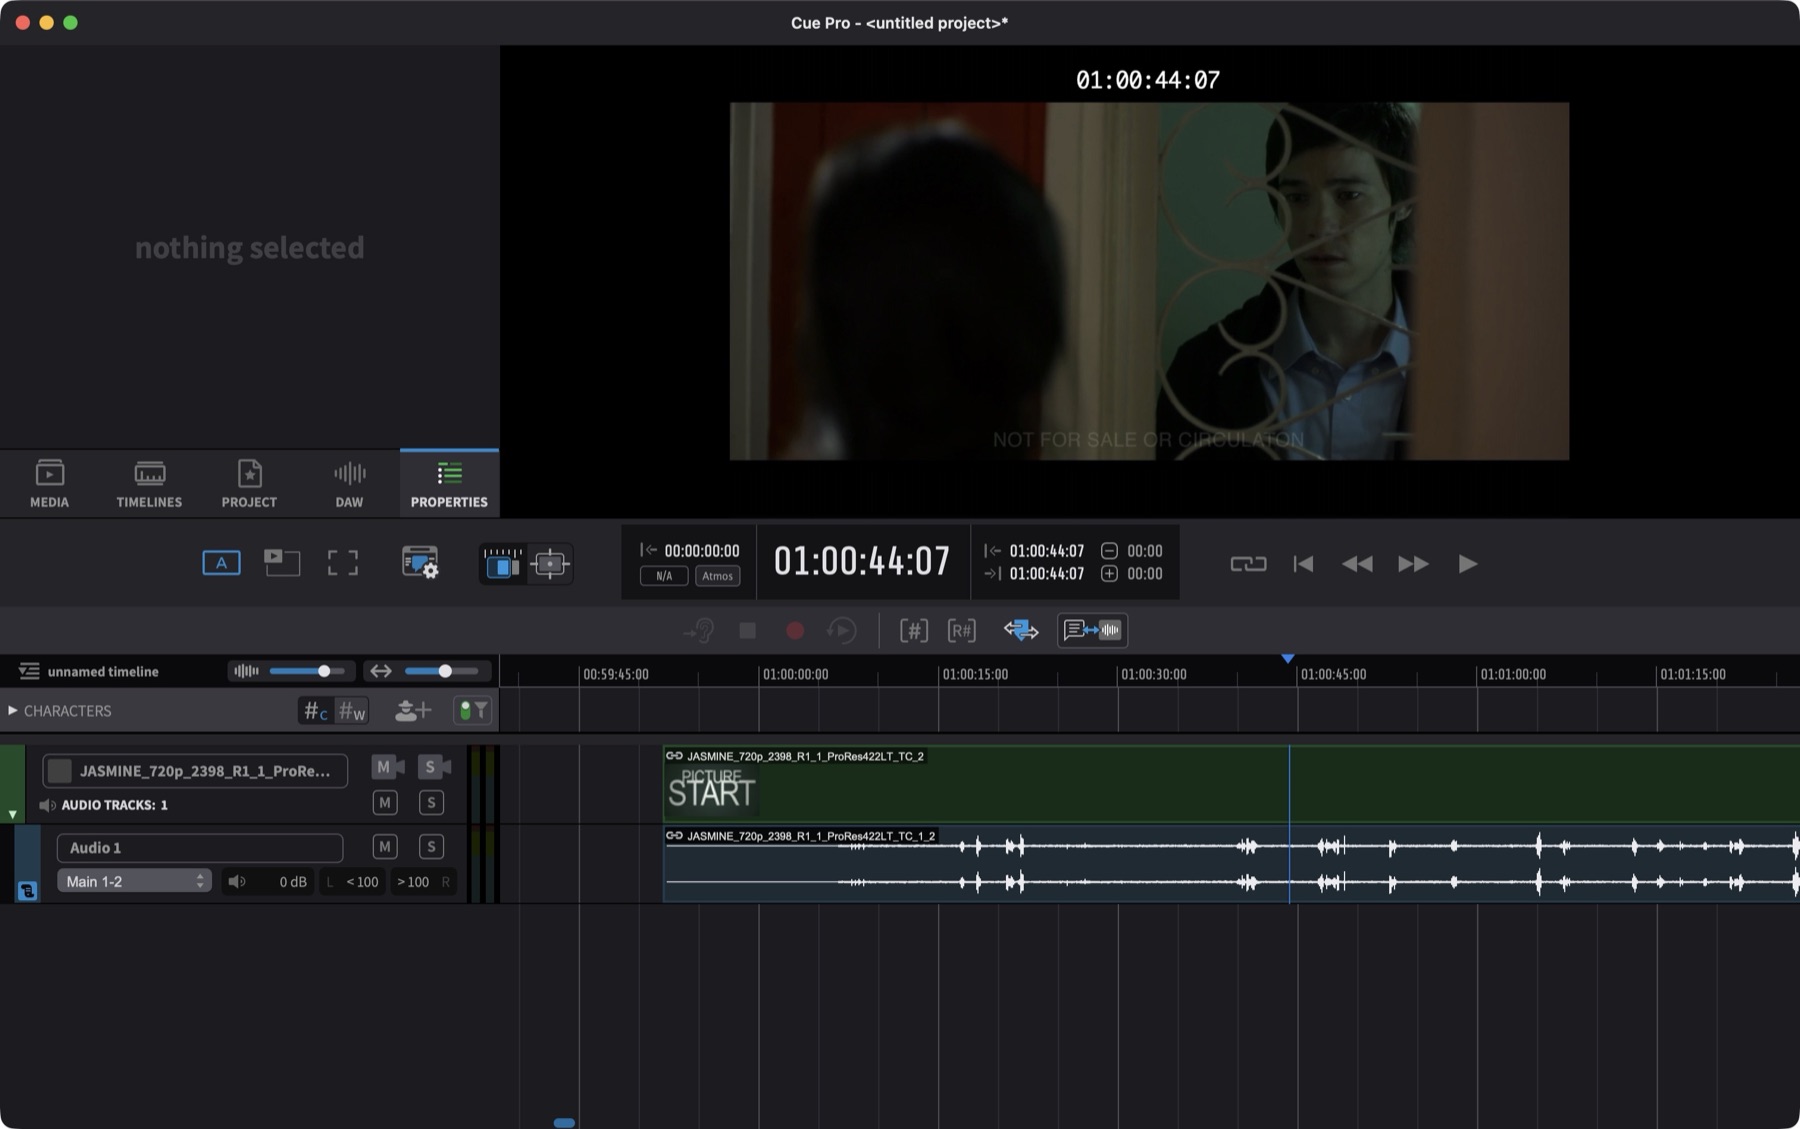
New audio tracks will also automatically be created when a new video file with embedded audio is dragged onto a timeline - and will remain locked and nested within the video file.
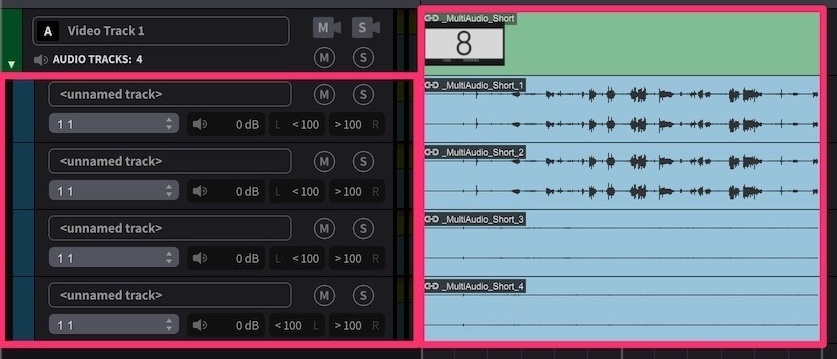
The embedded audio can be a stereo guide for example, or multiple pairs of stereo guides eg DME Stems, or the other supported multi-channel audio track Channel Layout types - up to 7.1. Stems will be presented each on separate tracks - which can be routed separately out of different audio hardware outputs if desired. Other multichannel mix types eg 5.1 will be presented on one multichannel track.
To route the audio for a track to the speakers, click on the output routing selector tab below the track name, & click on one of the outputs defined in the Audio Setup Routing Section.
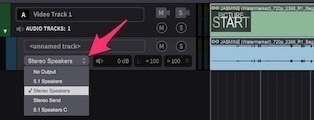
Note: If the audio track's channel count does not match the output bus' channel count, Cue Pro will up-mix or down-mix the audio content automatically.
To rename an audio track, double-click the name, type a new name & hit enter.
To adjust the volume of an audio track, click on the speaker icon to the right of the output routing selector & drag the volume slider. To set it back to the default full setting, Option-click the slider.
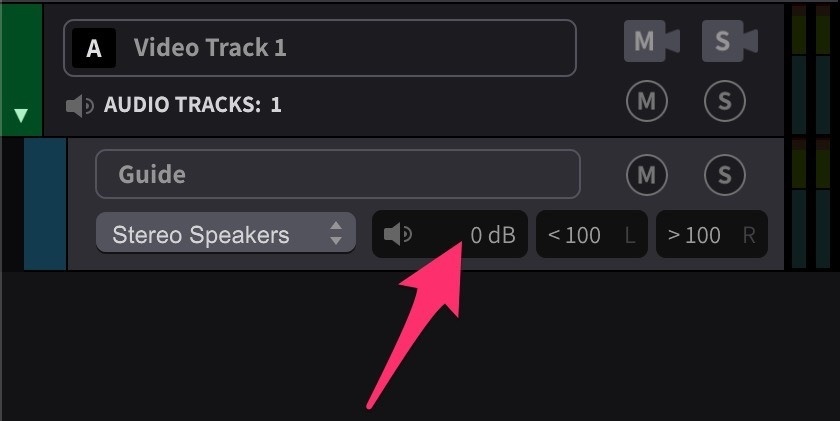
Note: The volume is static for each track - so it is not possible to automate the volume automation.
The pan controls to the right of the volume control the left and right pans separately - with sliders for each channel from all the way left, to all the way right. To set the track back to its fully panned default, Option-click each pan slider. Pan sliders are only available for stereo tracks.
To solo an audio track, press its circular S icon. This mutes all the other audio tracks in the timeline.
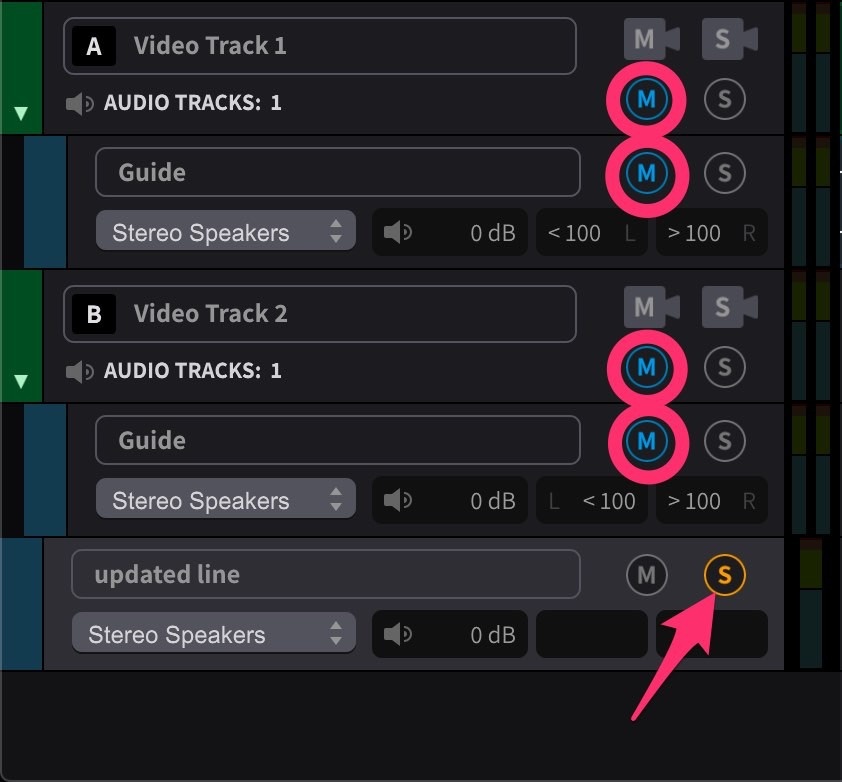
Press another track's circular S icon to solo this track as well.
Press them both again to remove their solos (& the automatic mutes from the other audio tracks).
Note: Solo states are persistent - soloed tracks remain soloed when reopening the project.
To mute an audio track, press its circular M icon.
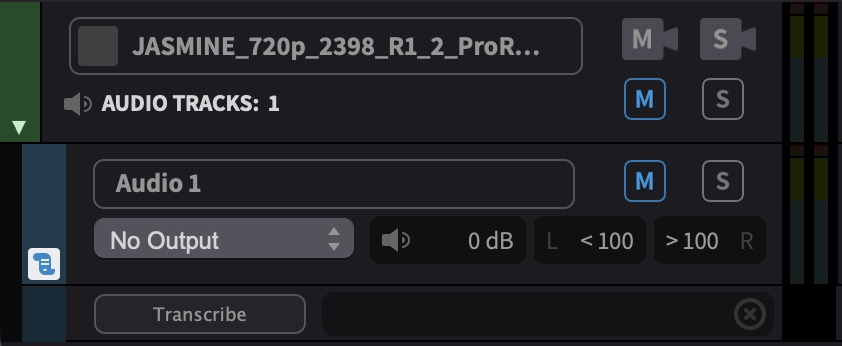
To mute another audio track as well, do the same for this track.
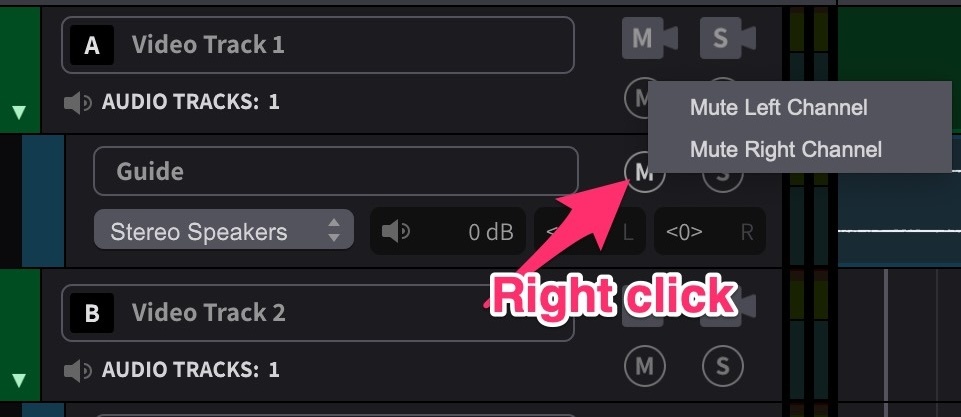
To mute just one channel of a stereo track, right click the circular M icon & choose the channel to mute in the window that appears.
The circular M icon will show the channel that is muted.
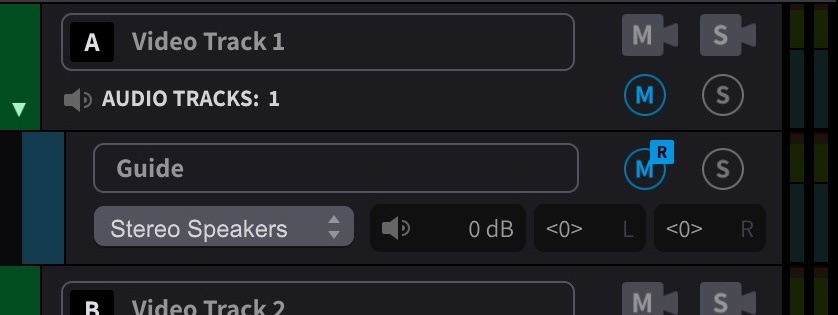
This can be very useful when there is a stereo split guide where Dialogue is on the left; Music & Effects are on the right - and only one or the other is needed.
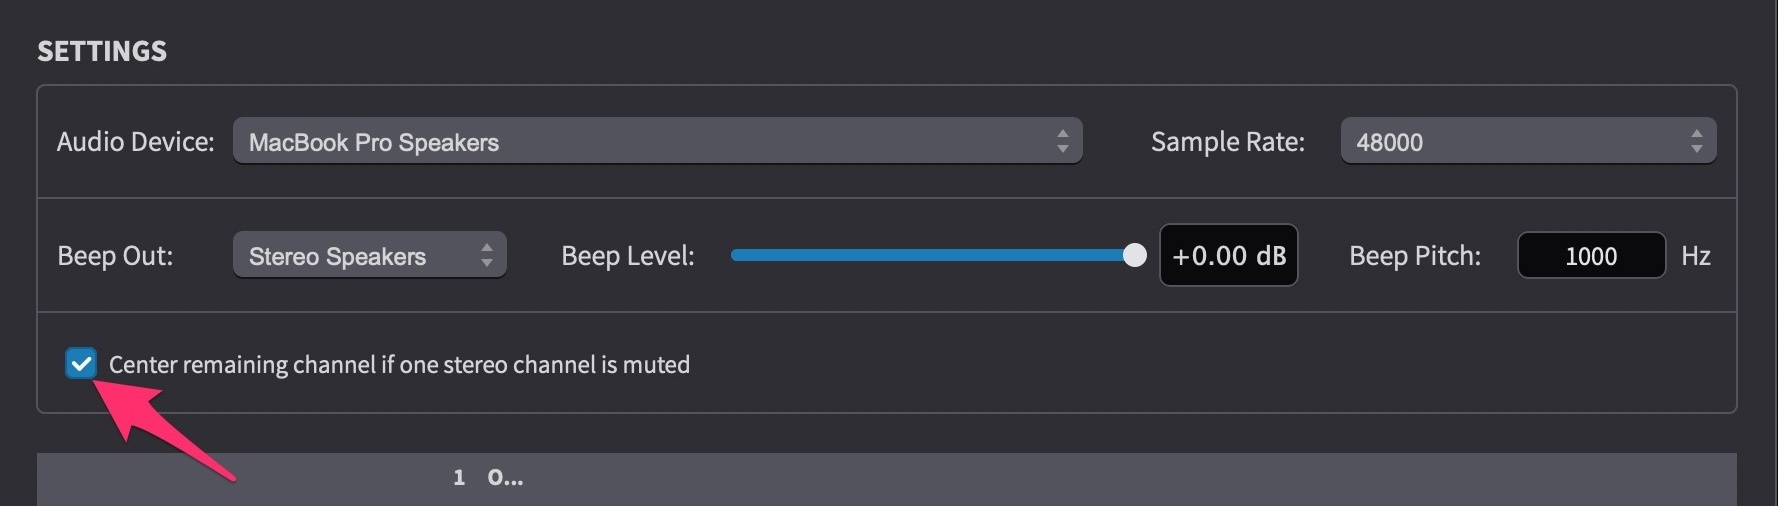
To automatically center the remaining channel's pan, enable the Center remaining channel if one stereo channel is muted preference in the Audio Settings window.
To clear this individual channel mute, click the M icon again.
Use the number keys 1-9 to quickly mute or unmute the first 9 audio tracks in the timeline.
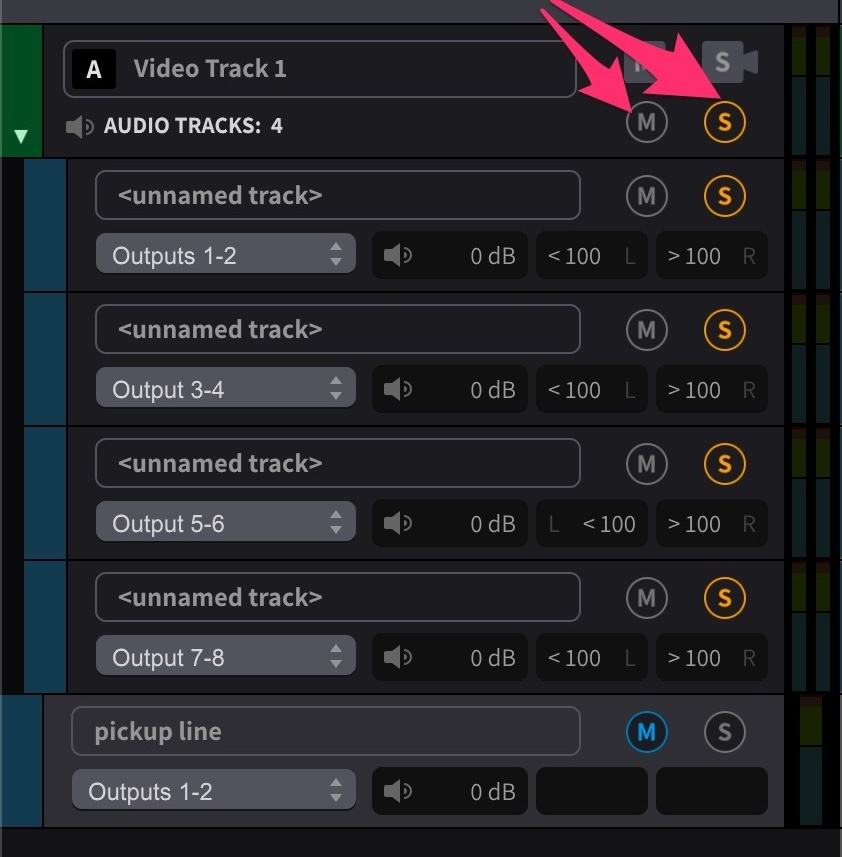
To mute or solo all embedded audio tracks of a video track all at once, use the circular M or S icons on the associated video track directly above.
Audio tracks can be resized by dragging the bottom track header edge. The height of all selected tracks (including Video & Character Tracks) can also quickly relatively adjusted using the keyboard shortcuts: Control & ↑/↓.
Transcription Lane
Each audio track can display a transcription lane beneath the waveform, showing sentence-level segments generated from a local transcription of the track's audio. The transcription lane appears automatically after a transcription is run and remains visible across save and load. To hide or show the lane, right-click the track header and toggle Show Transcription Lane. Hiding the lane does not remove the transcription data.
Transcription data can be used to create ADR Cue Events in bulk - one event per detected sentence, with timecodes derived from the word-level timing data. For the full transcription workflow, including installing transcription models, running a transcription, and creating events from the results, see the Creating ADR Cues from Audio Transcription section in the ADR Cues in Line Based Mode or ADR Cues in Rhythmo Bande Mode chapters.
Track Pinning
Media Mode Only: Track pinning is available in Media Mode only.
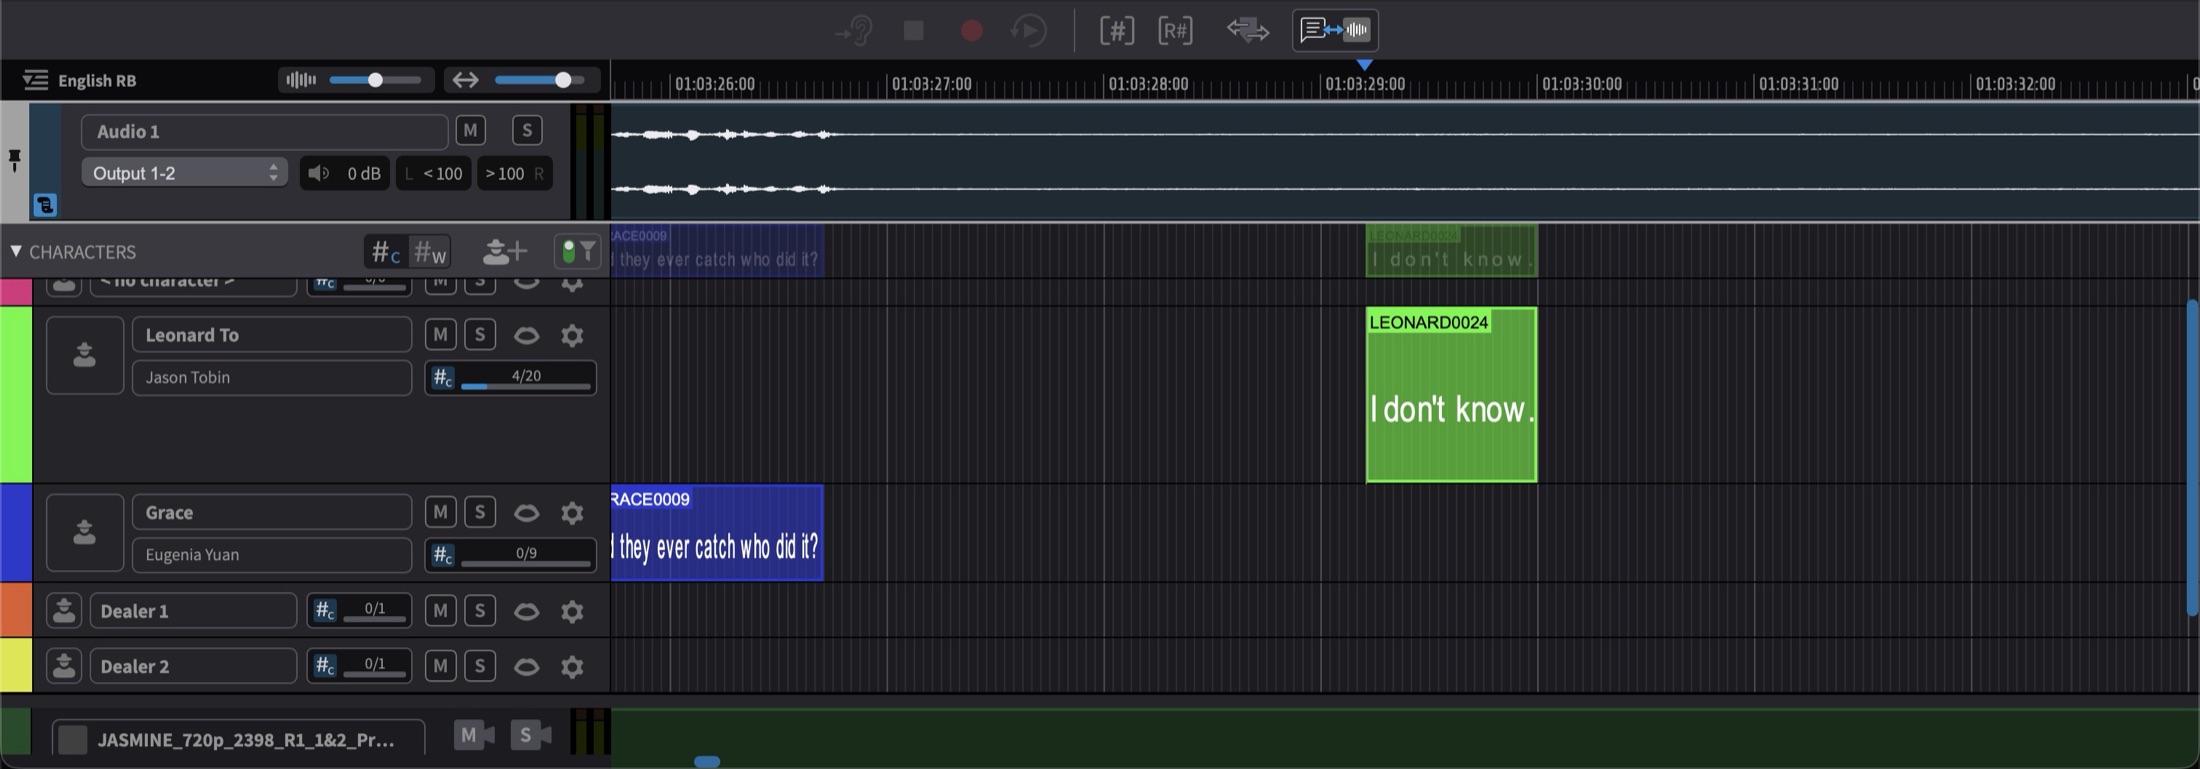
In a project with many Character Tracks, the audio track sits at the bottom of the track list — below all the actor tracks — so keeping an eye on the waveform while working means constant scrolling. Track pinning solves this by keeping selected tracks visible in a dedicated pinned band at the top of the track area: pin the audio track and its waveform stays in view no matter how far the track list is scrolled or which Character Track is being worked on.
A pinned track is not a copy — the band shows the very same track a second time. Regions, selections and edits are identical in both places, and any change made in one is immediately reflected in the other. This includes the header controls: renaming the track, changing volume, pan or the output bus, and starting a transcription all stay in sync between the two headers.
Pinning and Unpinning Tracks
To pin a track, right-click its header in the track list and choose Pin Track.
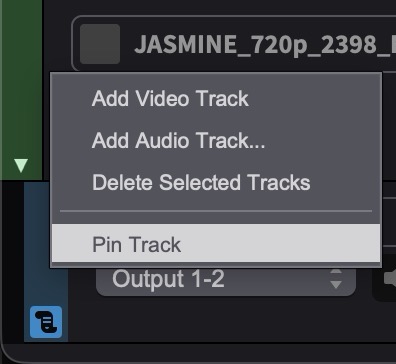
The track appears in the pinned band directly below the Timeline ruler, separated from the main track list, with a grey pin strip and pin icon marking the band on its left edge. The track also remains at its normal position in the main track list, where its colour box shows a small pin marker as a reminder that the track is pinned.
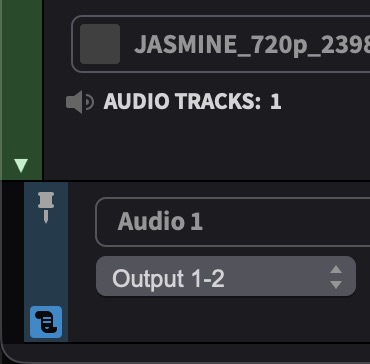
To unpin a track, right-click either of its headers — in the pinned band or in the main list — and choose Unpin Track. The track disappears from the pinned band; its position in the main track list is unaffected.
Video tracks and audio tracks can both be pinned. Pinning a video track brings its embedded audio tracks along into the band when they are shown, and pinning an audio track brings its transcription lane along when that is visible. Embedded audio tracks can also be pinned individually — unless their parent video track is already pinned, in which case they are already part of the band.
Working with the Pinned Band
The pinned band grows with its content, up to three quarters of the track area. If more tracks are pinned than fit within that limit, the band scrolls vertically, while still leaving the main track list its own space below.
Tracks in the pinned band can be reordered freely by dragging their headers up or down, without affecting the order of the main track list. This allows the band to act as a custom working set — for example the video track on top, followed by the two dialogue tracks currently being worked on.
Each track's height in the pinned band is independent of its height in the main list. Initially the pinned instance mirrors the main track's height; dragging the bottom edge of a header in the pinned band resizes only the pinned instance, so the band can stay compact while the same track remains full-size in the main list.
Pinned tracks, their order and their band heights are stored with the project.